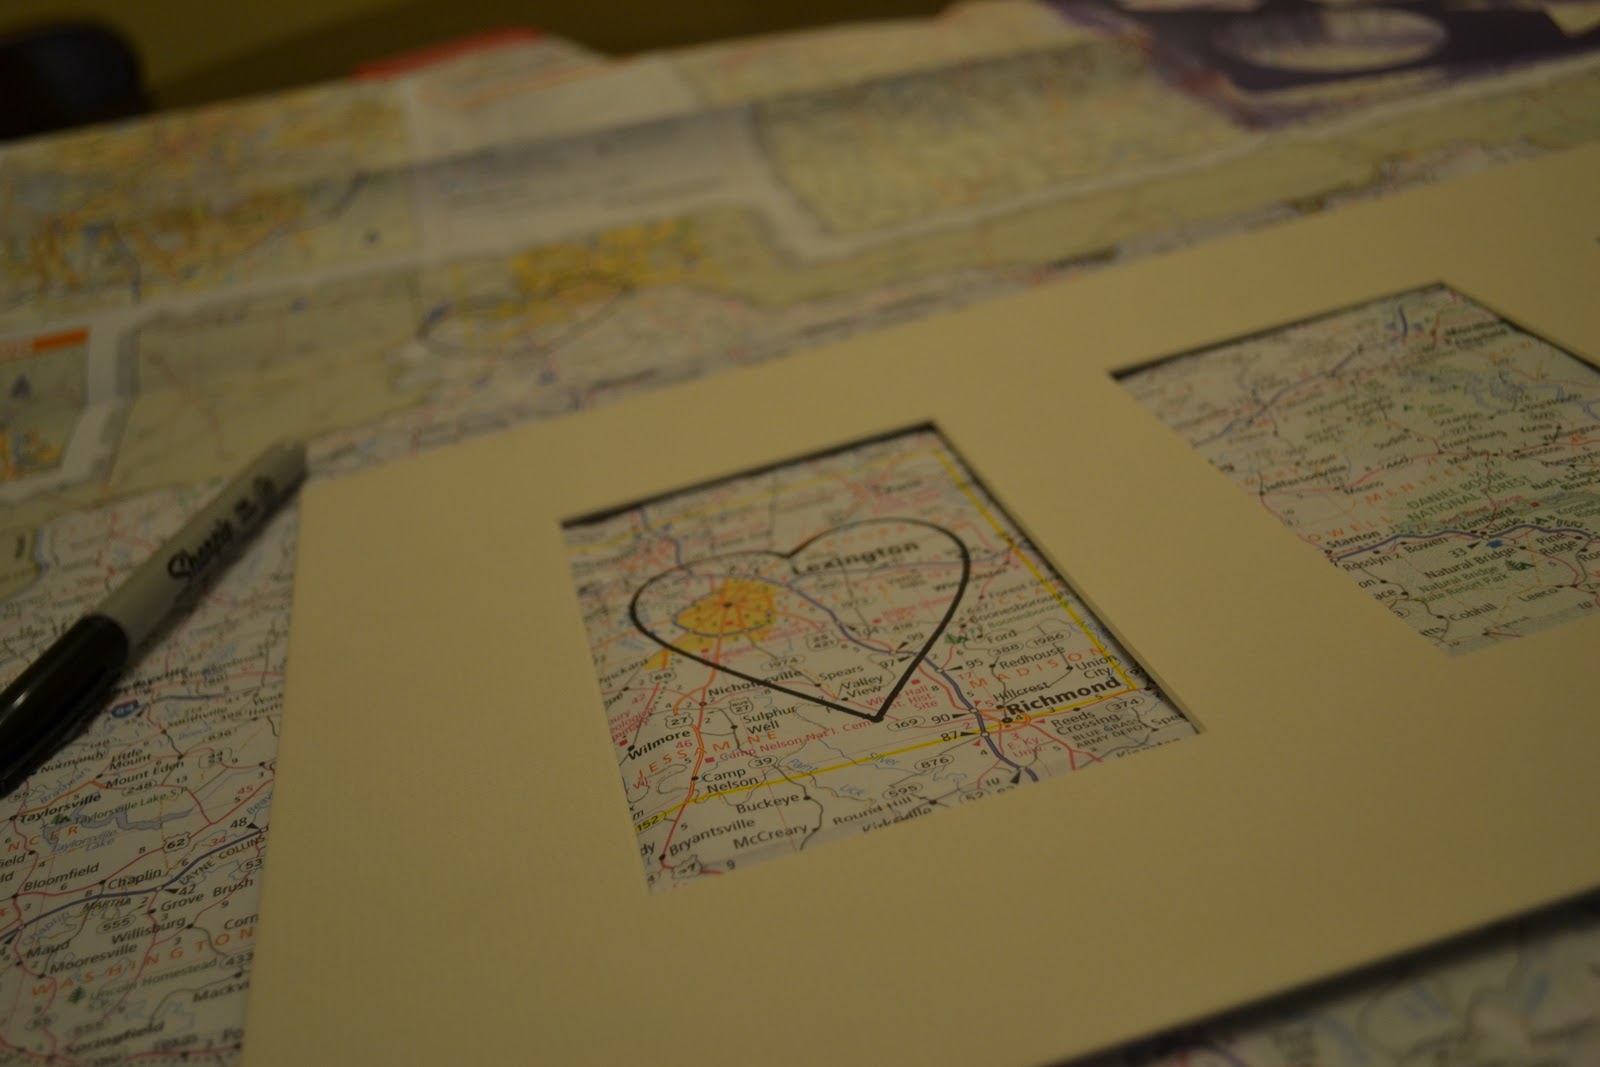
My second challenge adventure with Pinterest... the "Word Tree" (I couldn't think of anything else to call it) - a success! I started "Pinterest Challenge" with my Love Map and I intend to re-create some of the wonderful things that I have come across. If you feel inspired too, feel free to join and link up! If you don't have a blog, send me pictures of your creations and I'll share them here.

My Creation - The Word Tree

I was so excited about this project when I saw it on Pinterest. The person that made the precedent uses important stories, phrases, etc on the tree (usually pertaining to love). In probably 0.5 seconds, I knew the paragraph that I wanted to use. *NERD ALERT*
From the tip of his wand burst the silver doe: She landed on the office floor, bounded once across the office, and soared out of the window. Dumbledore watched her fly away, and as her silvery glow faded he turned back to Snape, and his eyes were full of tears.
"After all this time?"
"Always."
"The Prince's Tale" page 687. Harry Potter and the Deathly Hallows.
When I initially read this excerpt almost five years ago, I was bawling. (Today, as I was copying the words onto the computer, I actually noticed some tear stains still on the pages. Why was this excerpt so important? Snape's eternal love for Lily was the reason he continued to protect Harry. The chapter, "The Prince's Tale" was after Snape's death, and his first redemption that he had received in SEVEN books. Probably the biggest twist in the series.
So of course I had to use it when making the word tree. LOVE it .. and so excited that it can be apart of something that we always have.
Want to know how to make it? Here's how I did it...
Items you'll need:
- A picture frame (I used 11"x14" - in retrospect, I would use something like 12x12 or smaller. If the tree can extend from the top and side, it will have a 3-D appearance versus having it sit on top of everything else. )

- An additional matte with the same size opening as the frame

- (1) Background paper the size of the opening. (Again, I would have gone with a smaller opening if I did it again.)
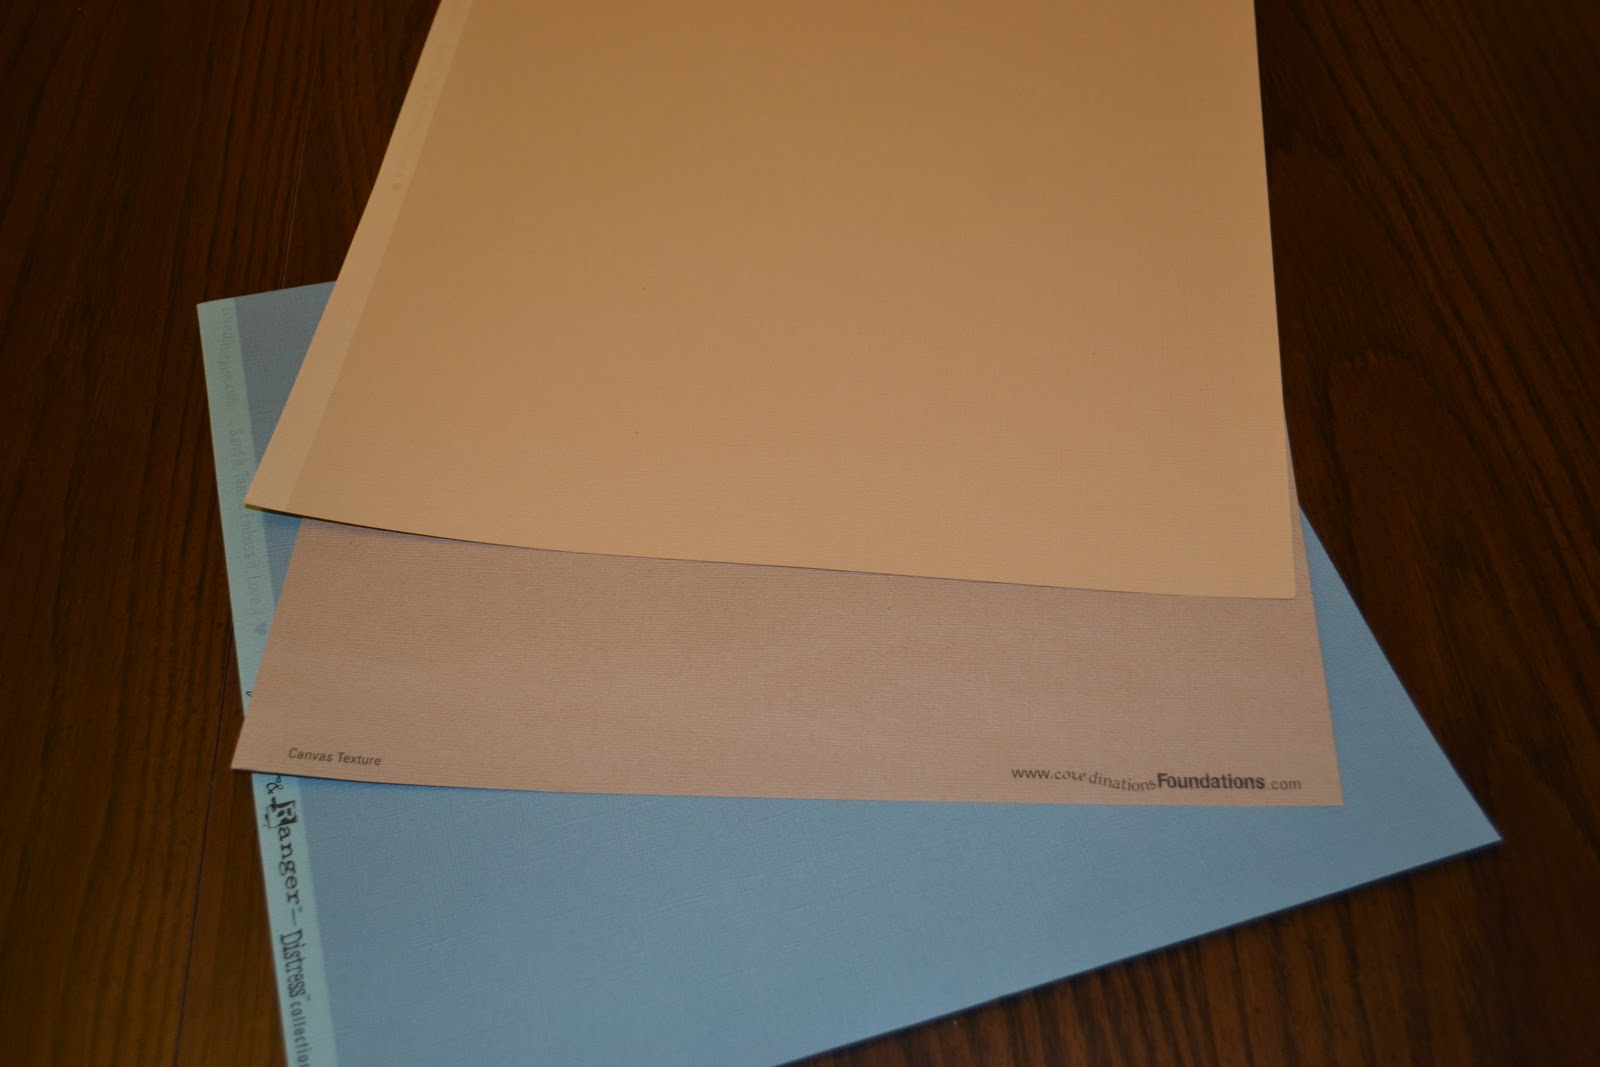
- (1) 8.5x11 Paper - the color that you would like the tree. I used a light iridescent paper that was off white - antique white to mimic book paper. The thicker the better - so it can look 3d.
- (1) 8.5x11 Paper - the color that you would like the hearts.

- Brown Yarn
- Scissors
- Tape
Steps
1. Find the excerpt, words, or phrase that you would like to use on the tree. As the words will not always be continuous due to the limbs, my suggestion would be to make it a smaller excerpt and have it repeat.
2. Type out the excerpt onto the computer paper. I found online that most books use "Garamond" as the font, so that is what I used. Edit the margins to have 0.2 for top, bottom, left, and right. The computer will prompt you that it is out of printer limits or something like that. Select "ok" or "continue." Copy the excerpt and "paste" until you have run into the next page.

3. Print out the page on the paper you selected for the tree.
4. Cut out the tree. Be careful because if you used special paper, the ink can smear with fingers. (Albeit weird looking) I used gloves for this process. (Note: if I did it again, I would have cut less branches on the tree.) The farther you can have it extend, the better.
 |
| The first one that I made... and smeared. |
5. Open up the frame. Place the background paper down under the separate matte (not the one that came with the frame) first. I taped the background paper to this matte.
6. Place the tree slightly overlapping the matte.
7. Cut out the hearts. For consistency, create a template first.
8. Cut out the string. I tied it at the top and taped the loose ends to the hearts. Slipping the string over the the bottom limb, with some of the tape exposed (because I taped the loose ends to the back side of the heart) the hearts stick to the background paper.
9. Place the second matte over the first (and the tree.)
10. Put the glass on and fit into the frame - and TA DA! You are done!!