


I think I am addicted to Pinterest. Okay, I know I am addicted.
I LOVE looking at pictures of homes, crafts, pictures, and food created by people 100x more creative than I. It's all right, I have come to terms with the fact that I might not create something original enough to show on the site, but - that doesn't mean I can't strive to copy creative perfection.
Thus, I have decided to start a "Pinterest Challenge" where I will try to re-create some of the wonderful things that I have come across. If you feel inspired too, feel free to join and link up! If you don't have a blog, send me pictures of your creations and I'll share them here.
I 'm super excited to present my first Pinterest Challenge creation - The Love Map
Precedent


Precedent
My Creation - The Love Map

As you can see, it looks quite different, but ultimately has the same concept. Honestly, between you and me, I need to warm up to the concept of sanding, finishing, painting, etc. Hey, I'll get there eventually, but not for my first challenge - haha!
Once I had the items I needed - creation time was probably < 30 minutes. Awesome, right?!? I could see this picture being great for a house warming gift for someone or yourself ;)
Want to know how to make it? Here's how I did it...
Items you'll need:
- A picture frame of your choosing with places for multiple pictures in the matte. (I picked up this one at Joann's. There were several there that had multiple picture spots, but unfortunately the 3 picture option was sold out.)

- Paper maps. I am sure you could use a paper atlas. I stopped by BAM (Books-A-Million) and picked up a Tennessee and Kentucky map. My mistake? I had wanted to make a section for our apartment and for our house. With the Tennessee map, because both of these locations are around Nashville, the map wasn't big enough. I had to go back out to the Local Walgreens and grab a Middle Tennessee Map.

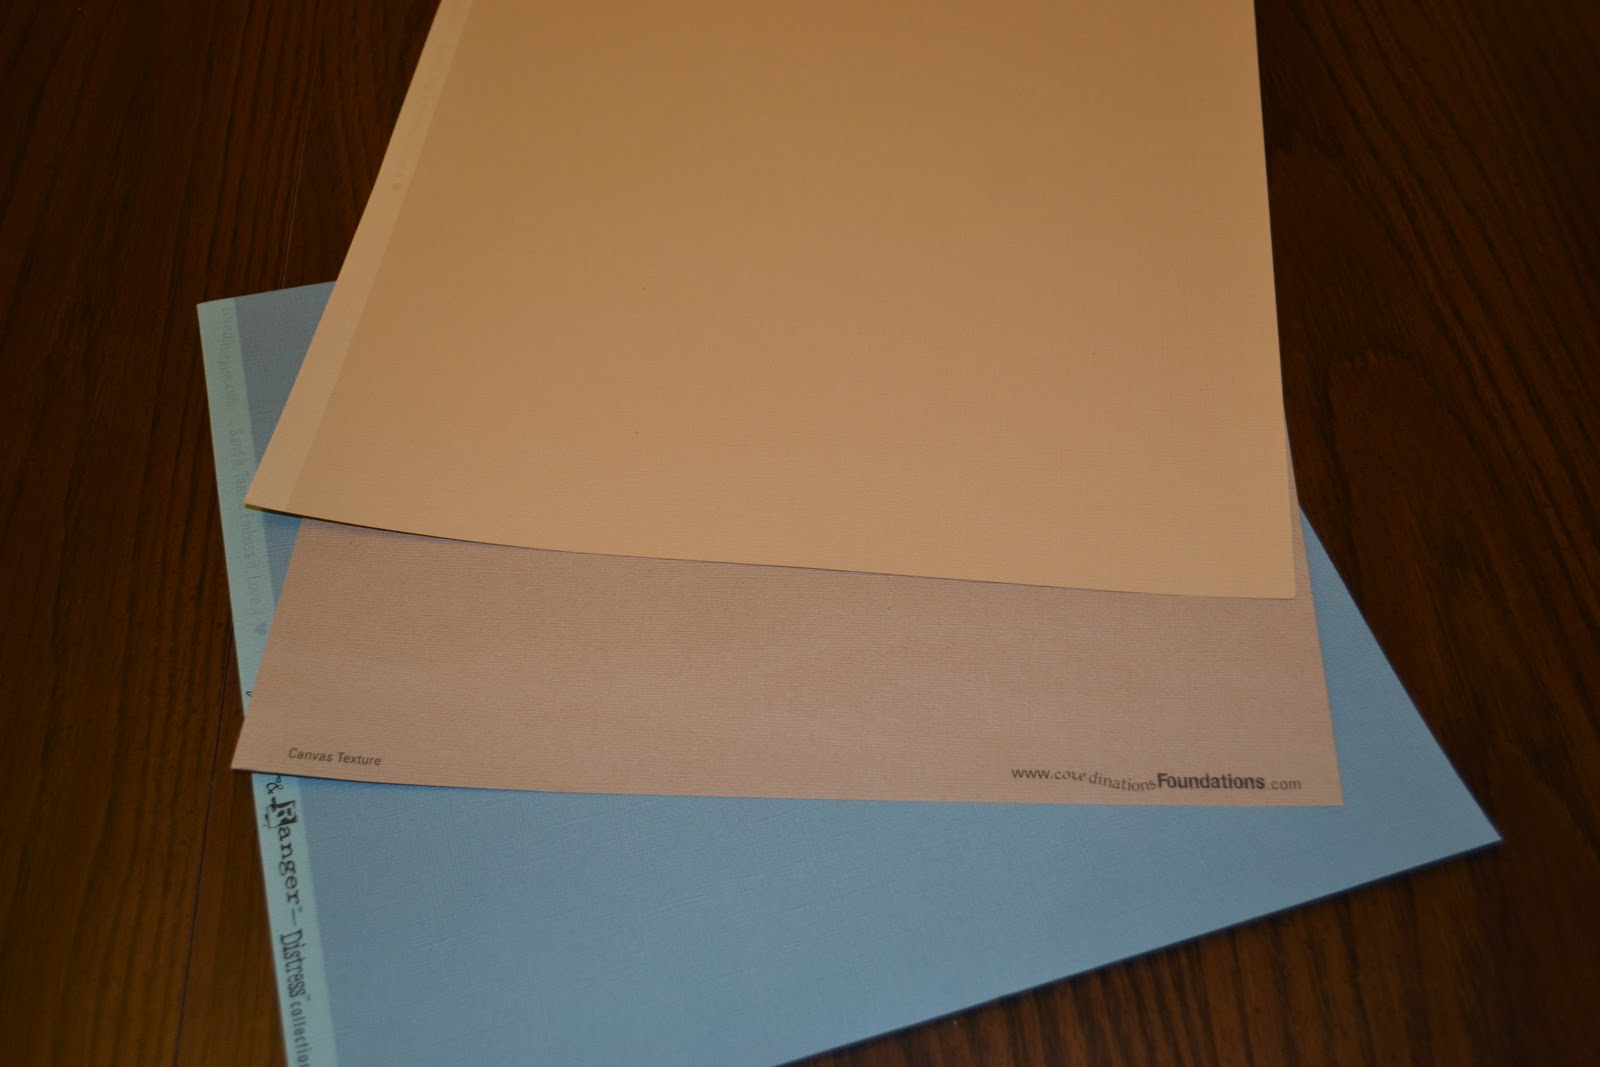
- Colored Paper for the "tags." I grabbed a few sheets of textured, colored paper from Joann's while I was there. I wasn't sure which color looked best with the room, so I decided I would make the decision at home.
- Template or cut out for the heart.

- Scissors
- Sharpie
- Tape
Steps:
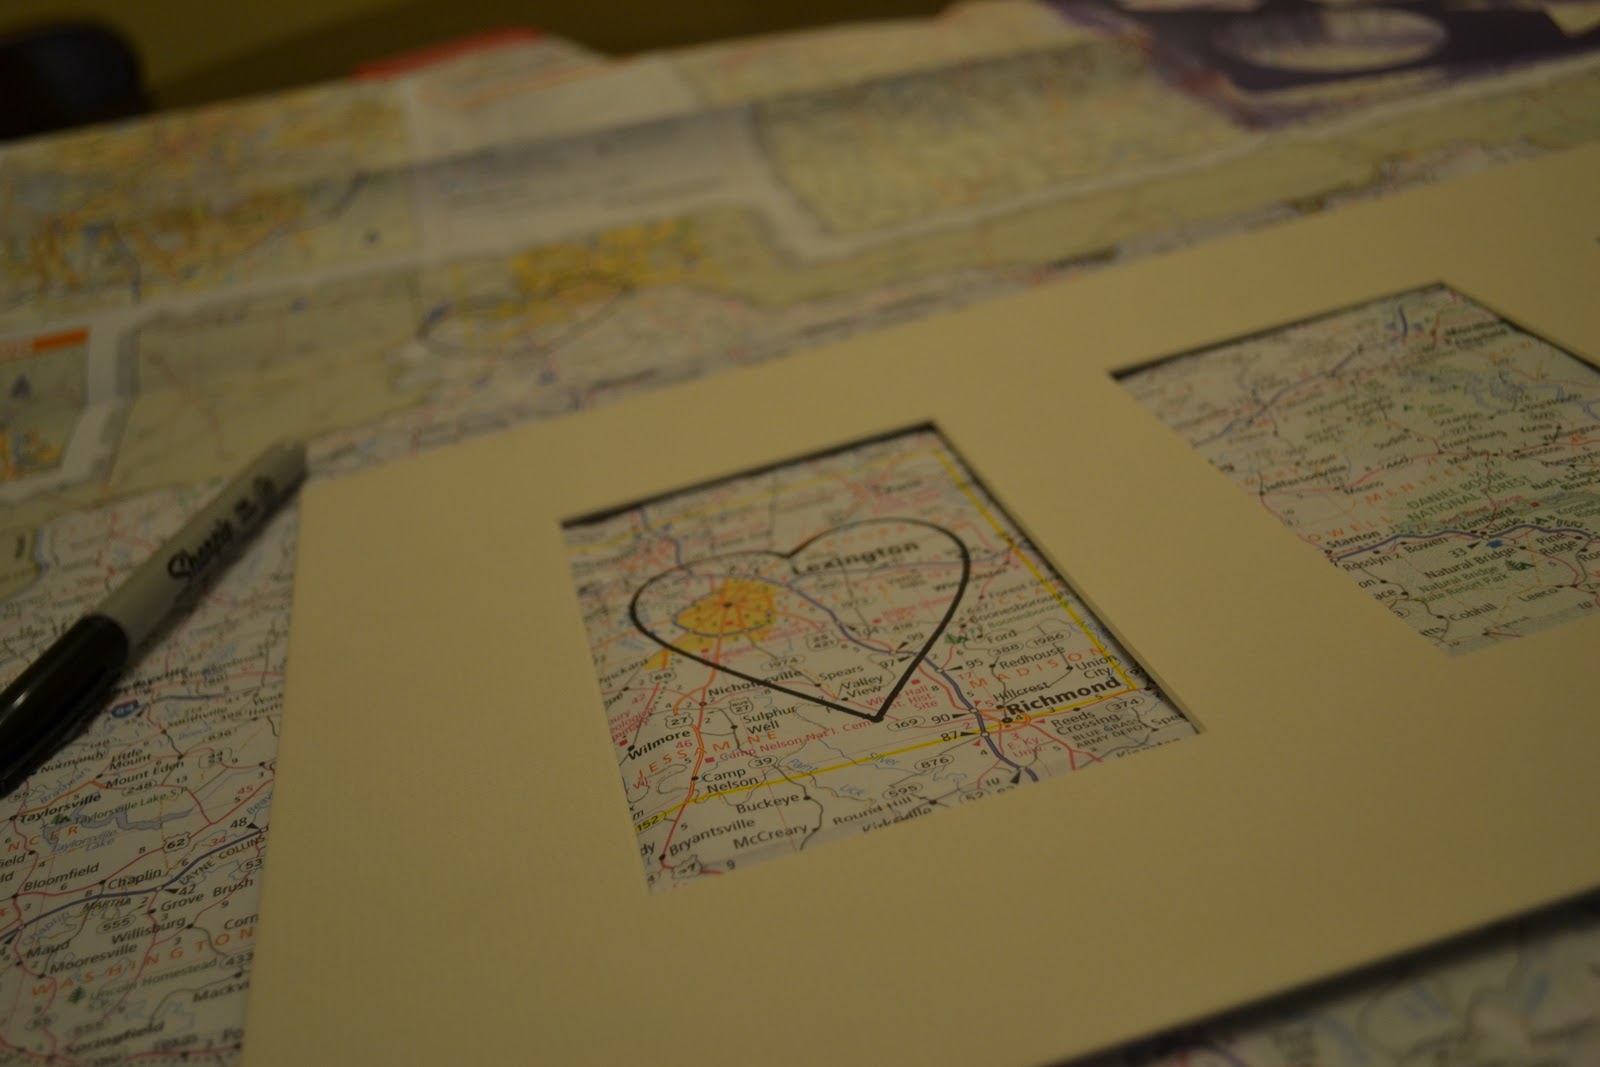
1. Find your locations on the map and outline them in sharpie. I had the locations sit in the very middle of the heart.

2. Decide how you want the heart to sit in the photo spot rectangles on the matte. When this is determined, outline the photo spot rectangle in pencil on to the map (around the heart.) Be vigilant that all the hearts "sit" in the same relative places in the rectangles. I did this by measuring the top of the heart to the top of the rectangle ~ 1inch and made sure this applied to each heart.
3. Cut the rectangles out leaving approximately 1inch around the penciled lines that you had drawn.
4. Line the sharpie stenciled hearts with each other and tape the cutouts to the backside of the matte. Once the cutouts are taped, erase the pencil marks that are visible.

5. Use a word processing program to create text boxes to type in the words that you want to use for the "tags" below the map hearts. Text boxes allow for a nice box around the words and I make the line style 3pt for thickness. For the font - I had downloaded some cute, free fonts from kevinandamanda.com. Once this was done, I cut down the 12"x12" colored paper to 8.5"x11" so it could fit into my printer. When I cut out the tags, I cut right outside of the line.

6. Tape the "tags" to the matte, and then place the matte into the frame.
7. TaDah! You are done!


12 comments:
I really like this! You did a great job! I want to do this too! :)
xoxo
Kristen
Super cute! You did a great job :)
this is really cute! I want to make one!
this is really cute! I want to make one!
(also, i have a new blog! it's thislovelystory.blogspot.com... sorry random, just wanted to mention it, ha!)
Melissa, thank you! It was sooo easy too! (My kind of crafts) PS: I was wondering what happened to your old blog... I was thinking around Christmas that you hadn't posted in awhile and then realized that the site was gone. Thank you so much for sharing! :)
Thank you Hailee! I felt like I was channeling your craftiness when I was working on it - so excited that it turned out well. :)
Thank
you! I was so surprised how easy it was... and how nice it turned out.
:) :) If you are looking for a cute, crafty picture project - I would
definitely recommend this!
I also saw this one Pinterest a while back. I think its so cute. I have been planning on doing one as well.
I'm so happy to see how great yours turned out!
I've been seeing these all over the place, I so want to do one. It seems so simple and yet so meaningful.
I was a little worried at first... sometimes making changes on construction can turn out wrong.. but I was pleasantly surprised! You should definitely try it out :)
You're right with it being meaningful - I think this will be a neat think to look at especially after having kids and moving... a nice remembrance of the beginning of our marriage :)
You did a great job & I really appreciate the link back.
Post a Comment